Battle Phases
| Phase | When | Watch For |
|---|---|---|
| Sit | Start | Cuts, potion, control moves |
| Stand | HP at or below 70% | Harder weapon and gravity moves |
| Fly | HP at or below 50% | Air attacks and Collapse route |
Battle Guide
| Phase | When | Watch For |
|---|---|---|
| Sit | Start | Cuts, potion, control moves |
| Stand | HP at or below 70% | Harder weapon and gravity moves |
| Fly | HP at or below 50% | Air attacks and Collapse route |
Fire 3 times: pool visit; casting Fire outside a counter window does not countGrip lasts 2 turns, raises DEF by 10%, and blocks Sit/Stand Gravity Beam plus Fly Double Beam. It does not block every gravity-named move.Dilate must already be learned; it appears only while Collapse is being prepared. Use it during that warning.| Phase | Bound Parts | Puppet Moves |
|---|---|---|
| Sit | Lower | Front Stomp |
| Sit | Upper | Self-Slap |
| Sit | Lower + Upper | Stomp-and-Slap / Air Fingering |
| Stand | Lower | Upside-down Chair |
| Stand | Upper | Forced Masturbation |
| Stand | Head | Forced Apology |
| Stand | Lower + Upper | Upside-down Stare |
| Stand | Lower + Head | Forced Kneel / Oppressive Trample Climax |
| Stand | Upper + Head | Forced Bow |
| Stand | All three | Gravity Purgatory |
| Fly | Lower + Head | Forced Shoe Sniffing |
| Fly | Upper + Head | Kneeling Urine Drinking |
| Fly | Lower + Upper | Knees-to-Chest Masturbation |
| Fly | All three | Trampling Castration |
| Phase | Move | Recommended Response + Outcome Preview | Note |
|---|---|---|---|
| Sit | 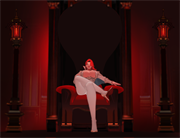 Gravity CutSeated; one hand extends to the side. Gravity CutSeated; one hand extends to the side. | Guard > > > >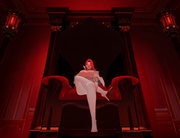 > >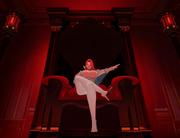 | Z Button QTE1-3 ringsall hits counter |
| Sit | 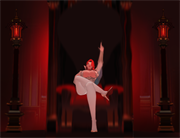 Gravity ShieldSeated; one finger points upward. Gravity ShieldSeated; one finger points upward. | SurgeWait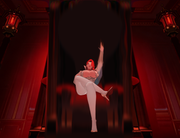 > >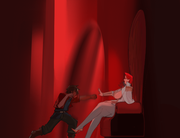 > >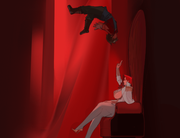 > >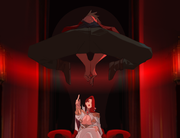 | Normal StrikeRestraint QTESurge breaks shield |
| Sit | 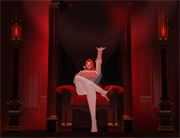 Gravity BallSeated; one hand rises above her head. Gravity BallSeated; one hand rises above her head. | Strike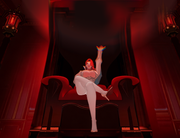 > >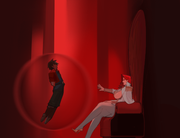 > >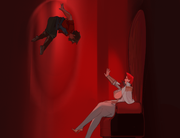 > >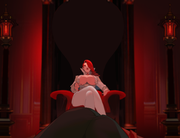 | |
| Sit | 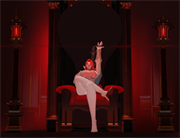 Gravity BeamSeated; palm lifted straight up. Gravity BeamSeated; palm lifted straight up. | Active Grip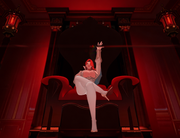 > >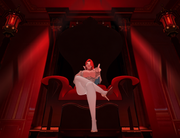 > >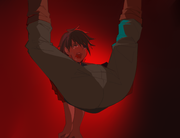 > >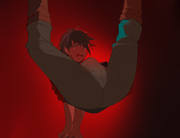 | Otherwise binds 1 part |
| Sit | 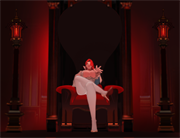 Wall SmashSeated; palm raised with a dark glow. Wall SmashSeated; palm raised with a dark glow. | Fire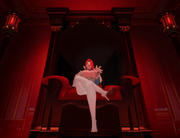 > >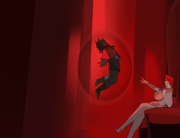 > >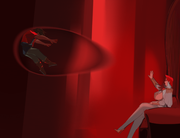 > > | Z Lane QTEall hits countermisses continue |
| Sit | 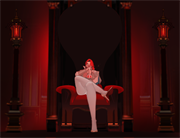 Royal PotionSeated; potion held near her chest. Royal PotionSeated; potion held near her chest. | Strike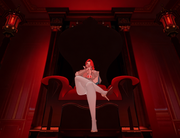 > > > > > > | Let drink for toilet route |
| Sit | 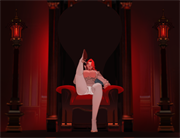 Leg-Lift Head SqueezeSeated; one leg lifts straight up. Leg-Lift Head SqueezeSeated; one leg lifts straight up. | Wait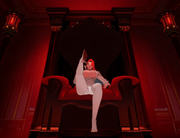 > >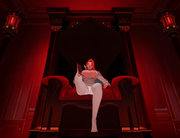 > >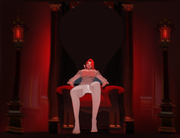 > >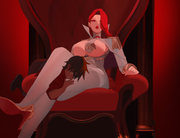 | Strike |
| Sit | 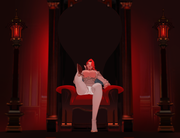 Raised-foot Head StompSeated; one knee is raised, sole facing you. Raised-foot Head StompSeated; one knee is raised, sole facing you. | WaitGuard | Strike triggers head-stomp punish |
| Sit | 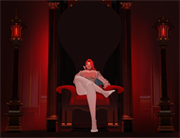 Floating ShoesShe removes her heels; shoes hover. Floating ShoesShe removes her heels; shoes hover. | Twin PunchStrike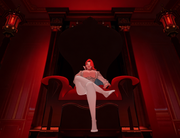 > >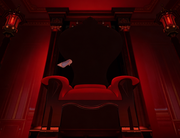 > >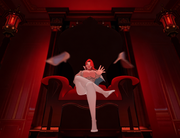 > >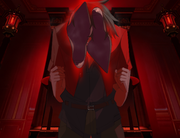 | |
| Stand | 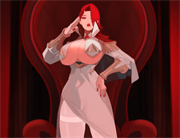 Gravity Cut IIStanding; one hand near her face. Gravity Cut IIStanding; one hand near her face. | Guard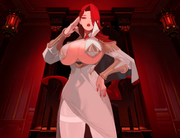 > >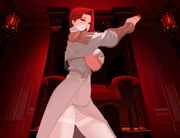 > >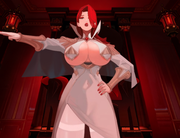 > >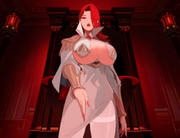 | Z Lane QTE3 checkpointsall hits counter |
| Stand | 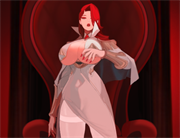 Charged CutStanding; one arm crosses her chest. Charged CutStanding; one arm crosses her chest. | FireGuard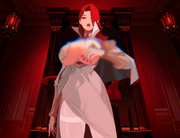 > >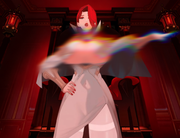 > >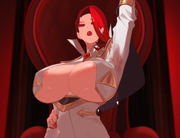 > >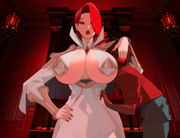 | early Strike |
| Stand | 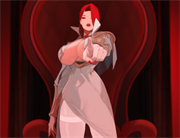 Force KneelStanding; finger points straight at you. Force KneelStanding; finger points straight at you. | Grab Block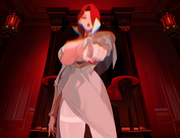 > >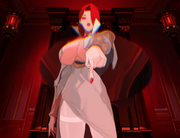 > >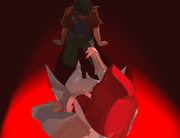 > > | Strike punish |
| Stand | 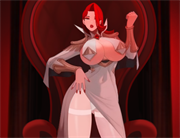 Electric BallbustStanding; fist raised beside her head. Electric BallbustStanding; fist raised beside her head. | Insulated gear > > > >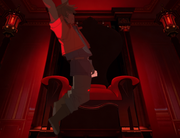 > >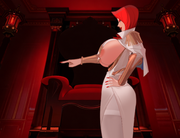 | |
| Stand | 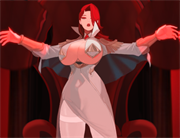 Double Gravity BallBoth arms spread beside red spheres. Double Gravity BallBoth arms spread beside red spheres. | Twin Punch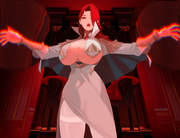 > >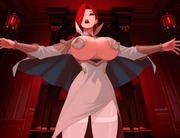 > >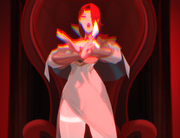 > >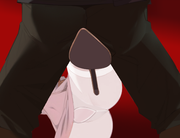 | normal Strike |
| Stand | 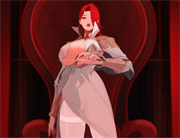 Gravity BeamStanding; both hands cross at her chest. Gravity BeamStanding; both hands cross at her chest. | Active Grip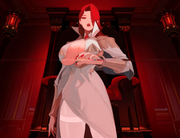 > >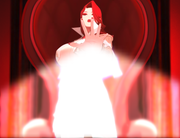 > >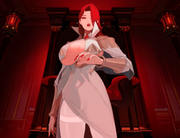 > >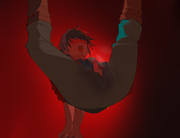 | Otherwise binds 2 parts |
| Stand | 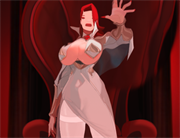 Reversed ShieldOne open hand faces forward. Reversed ShieldOne open hand faces forward. | Fire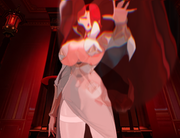 > > > >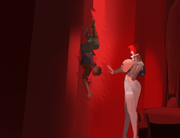 > >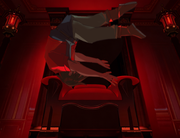 | Strike |
| Stand | 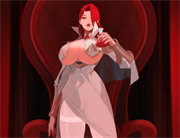 PotionStanding; potion held near her chest. PotionStanding; potion held near her chest. | Strike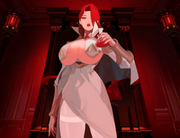 > >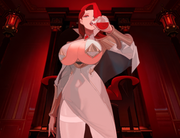 > > > > | |
| Stand | 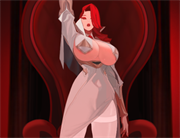 Mega MoveStanding; one arm raises overhead. Mega MoveStanding; one arm raises overhead. | StrikeGravity gear > >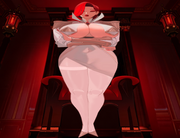 > >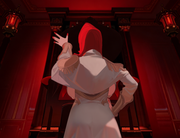 > >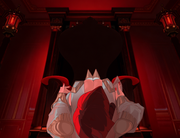 | Strike during charge |
| Fly | 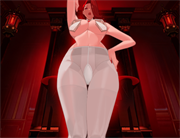 Gravity Cut IIIFloating; one arm raised, one hand on hip. Gravity Cut IIIFloating; one arm raised, one hand on hip. | Guard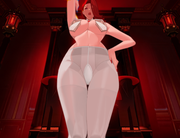 > >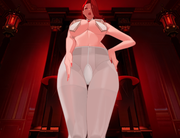 > >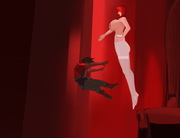 > >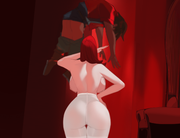 | Z Button QTE3 ringsall hits counter |
| Fly | 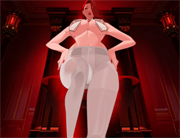 Gravity KickFloating; both hands on her hips. Gravity KickFloating; both hands on her hips. | Strike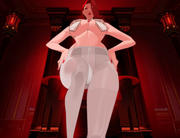 > >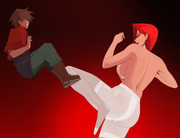 > >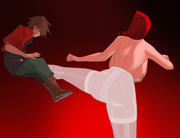 > > | |
| Fly | 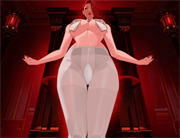 Flying ScissorsFloating; both arms open low. Flying ScissorsFloating; both arms open low. | Grab Block > > > >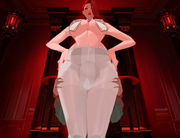 > >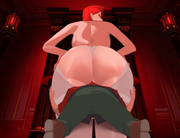 | |
| Fly | 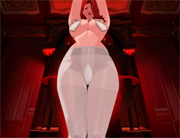 Puppet Ball ThrowFloating; both hands meet in front. Puppet Ball ThrowFloating; both hands meet in front. | Fire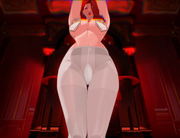 > > > > > > | |
| Fly | 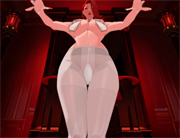 Gravity JumpFloating; both arms spread wide. Gravity JumpFloating; both arms spread wide. | Thunder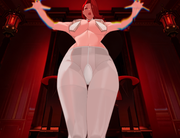 > >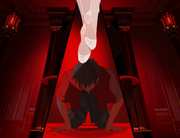 > >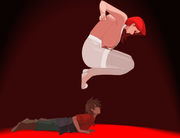 > >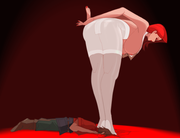 | |
| Fly | 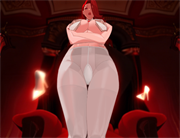 Floating ShoesFloating; arms crossed, heels beside her. Floating ShoesFloating; arms crossed, heels beside her. | Twin PunchStrike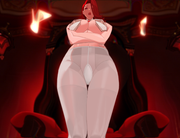 > >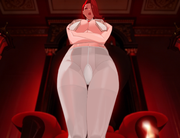 > >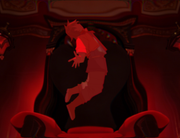 > >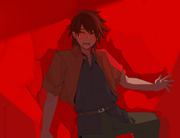 | |
| Fly | 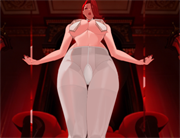 Double BeamFloating; both palms open at her sides. Double BeamFloating; both palms open at her sides. | Grab Blockor active Grip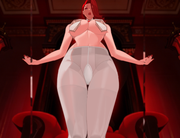 > >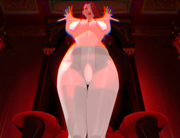 > > > > | |
| Fly |  CollapseFloating; both hands fold before her body. CollapseFloating; both hands fold before her body. | Dilate > >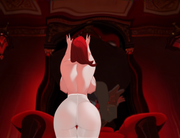 > >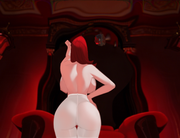 > > | Must be learnedOnly shown during warningLose for Arachne Limbo |
| Fly | 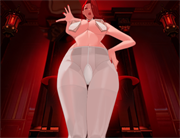 Wall SmashFloating; one open hand reaches forward. Wall SmashFloating; one open hand reaches forward. | Heal / prepare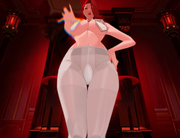 > >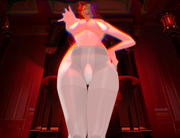 > >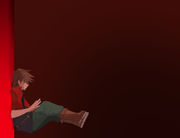 > >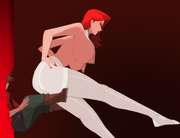 | Strike |
戰鬥攻略
| 階段 | 時間 | 重點 |
|---|---|---|
| 坐姿 | 開場 | 斬擊、藥水、控制招 |
| 站姿 | HP 小於等於 70% | 武器與重力招更兇 |
| 浮空 | HP 小於等於 50% | 空中招與 Collapse 路線 |
火焰反擊 3 次:泳池拜訪;一般施放,或沒有成功反制招式的火焰都不計數Grip 持續 2 回合、DEF 提高 10%,並可擋下坐姿/站姿的重力弦線與浮空階段的雙重力弦;它不能阻擋所有名稱帶有「重力」的招式。Dilate;它只會在女皇準備 Collapse 時出現,請在警告期間使用。| 階段 | 拘束部位 | 傀儡技 |
|---|---|---|
| 坐姿 | 下半身 | 座前踐踏 |
| 坐姿 | 上半身 | 自我掌摑 |
| 坐姿 | 下半身+上半身 | 踩手掌摑/空氣指淫 |
| 站姿 | 下半身 | 倒掛椅子 |
| 站姿 | 上半身 | 強制手淫 |
| 站姿 | 頭部 | 強制道歉 |
| 站姿 | 下半身+上半身 | 倒掛視奸 |
| 站姿 | 下半身+頭部 | 強制下跪/壓迫踩射 |
| 站姿 | 上半身+頭部 | 強制行禮 |
| 站姿 | 三個部位 | 重力煉獄 |
| 浮空 | 下半身+頭部 | 強制聞鞋 |
| 浮空 | 上半身+頭部 | 跪地飲尿 |
| 浮空 | 下半身+上半身 | 抱膝自慰 |
| 浮空 | 三個部位 | 踐踏去勢 |
| 階段 | 招式 | 建議應對+結果預覽 | 備註 |
|---|---|---|---|
| 坐姿 | 重力飛刃坐姿,單手向側伸出 | 防禦>>> | Z 按鍵 QTE1–3 個判定圈全中反擊 |
| 坐姿 | 重力護牆坐姿,指尖向上 | Surge等待>>> | 普通攻擊拘束 QTESurge 可破牆 |
| 坐姿 | 重力球坐姿,單手高舉 | 攻擊>>> | |
| 坐姿 | 重力弦線坐姿,掌心向上 | 有效的 Grip>>> | 否則拘束 1 個部位 |
| 坐姿 | 牆壁陷擊坐姿,掌心泛黑光 | 火焰>>> | Z 軌道 QTE全中反擊失手續接陷阱 |
| 坐姿 | 皇室藥水坐姿,胸前拿藥水 | 攻擊>>> | 廁所路線可讓她喝 |
| 坐姿 | 抬腿夾頭坐姿,單腿高舉 | 等待>>> | 攻擊 |
| 坐姿 | 舉腳踩頭坐姿,屈膝抬腳,鞋底朝向你 | 等待防禦 | 攻擊會觸發踩頭懲罰 |
| 坐姿 | 飄浮鞋子脫下高跟鞋,鞋子浮起 | 雙拳攻擊>>> | |
| 站姿 | 重力飛刃II站姿,一手貼近臉旁 | 防禦>>> | Z 軌道 QTE固定 3 個判定點全中反擊 |
| 站姿 | 蓄力重刃站姿,手臂橫在胸前 | 火焰防禦>>> | 太早攻擊 |
| 站姿 | 強行跪下站姿,手指直指你 | 防抓>>> | 攻擊受罰 |
| 站姿 | 電拳陰莖站姿,拳頭舉在臉旁 | 絕緣裝備>>> | |
| 站姿 | 雙重引力波雙手張開,兩側有紅球 | 雙拳>>> | 普通攻擊 |
| 站姿 | 重力弦線站姿,雙手交叉胸前 | 有效的 Grip>>> | 否則拘束 2 個部位 |
| 站姿 | 倒轉護牆單手前張,紅幕在身後 | 火焰>>> | 攻擊 |
| 站姿 | 藥水站姿,胸前拿藥水 | 攻擊>>> | |
| 站姿 | 大絕站姿,單臂高舉 | 攻擊重力裝備>>> | 蓄力時攻擊 |
| 浮空 | 壓世斬浮空,單臂高舉 | 防禦>>> | Z 按鍵 QTE固定 3 個判定圈全中反擊 |
| 浮空 | 千鈞連踢浮空,雙手叉腰 | 攻擊>>> | |
| 浮空 | 鎖魂腿夾浮空,雙臂低張 | 防抓>>> | |
| 浮空 | 傀儡丟球浮空,雙手合在身前 | 火焰>>> | |
| 浮空 | 沉世踐踏浮空,雙臂大張 | 雷擊>>> | |
| 浮空 | 高跟浮游浮空抱臂,兩鞋在旁 | 雙拳攻擊>>> | |
| 浮空 | 雙重力弦浮空,雙掌向兩側張開 | 防抓或有效的 Grip>>> | |
| 浮空 | 坍縮浮空,雙手交疊腹前 | Dilate>>> | 必須事先學會只在警告期間顯示想進 Arachne 就輸 |
| 浮空 | 沉壁皇威浮空,單手向前張開 | 補血 / 準備>>> | 攻擊 |