Where
- Torture room
- Disarm trial
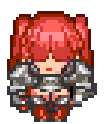
Battle Guide
StrikeFire; a loosened grip and open handle take StrikeOutcome previews are abridged. Most show the punishment for a wrong counter; step 12 shows the successful disarm.
| Step | Cue | Counter + Outcome Preview (abridged) |
|---|---|---|
| 1 | 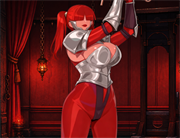 Lift Lift | Strike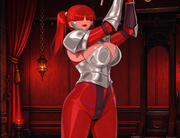 > >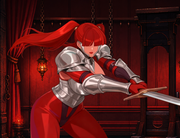 |
| 2 | 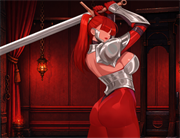 Draw Draw | Guard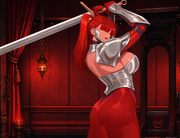 > >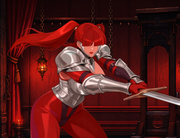 |
| 3 | 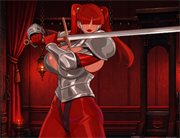 Block bait Block bait | Fire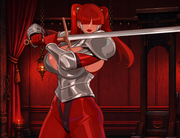 > >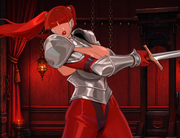 |
| 4 | 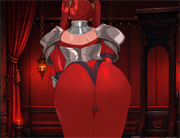 Shoulder rush Shoulder rush | Grab Block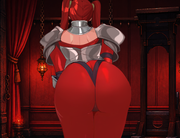 > > > > > > |
| 5 | Lift | Strike> |
| 6 | Draw | Guard> |
| 7 |  Back-turned bait Back-turned bait | Grab Block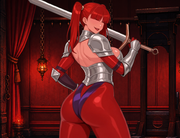 > >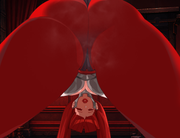 > >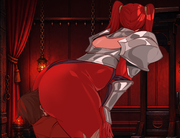 > >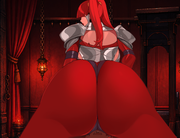 |
| 8 | Block bait | Fire> |
| 9 | Lift | Strike> |
| 10 | Draw | Guard> |
| 11 | Shoulder rush | Grab Block>>> |
| 12 | Open handle | Strike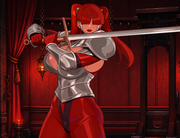 > >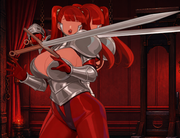 |
戰鬥攻略
攻擊火焰;握力鬆開、露出劍柄時要用 攻擊結果預覽為節選;多數展示錯誤反制後的懲罰,第 12 步則是成功解除武裝。
| 步驟 | 提示 | 反制+結果預覽(節選) |
|---|---|---|
| 1 | 上段蓄力 | 攻擊> |
| 2 | 低身橫掃 | 防禦> |
| 3 | 架劍誘攻 | 火焰> |
| 4 | 近身撞入 | 防抓>>> |
| 5 | 上段蓄力 | 攻擊> |
| 6 | 低身橫掃 | 防禦> |
| 7 | 背身挑釁 | 防抓>>> |
| 8 | 架劍誘攻 | 火焰> |
| 9 | 上段蓄力 | 攻擊> |
| 10 | 低身橫掃 | 防禦> |
| 11 | 近身撞入 | 防抓>>> |
| 12 | 露出劍柄 | 攻擊> |